
The first time I tried chrome nails at home, I rubbed the powder on like it was eyeshadow… and ended up with streaky, dusty-looking nails that looked nothing like the Pinterest photos.
I genuinely thought chrome nails were one of those things you had to go to a salon for.
Turns out? I was just doing it wrong.
Once I figured out the right techniques (and stopped rushing), I realized you can 100% get that shiny, mirror-like chrome nails look at home — without spending salon money.
- Quick Overview 💅
- What Chrome Nails Actually Are (And Why They’re Tricky) ✨
- Method 1: Chrome Powder + Gel (Most Professional Result) 💎
- Method 2: Chrome Powder + Regular Polish (No Lamp Needed) 🪞
- Method 3: Chrome Nail Polish (Easiest Option) 💅
- Best Products for Chrome Nails at Home 💖
- Personal Tips That Made a HUGE Difference 💡
- Common Mistakes (Please Learn From Me 😭) 🚫
- Quick Comparison: Which Method Should You Use?
- My Honest Take 💬
- Your Questions Answered ✨
- Closing Thoughts 💭
Quick Overview 💅
| What You’ll Learn | Why It Matters |
| 3 chrome nail methods | Choose what fits your skill level |
| Step-by-step instructions | No guessing, no mess |
| Best products to use | Avoid wasting money |
| Common mistakes | Save yourself from frustration |
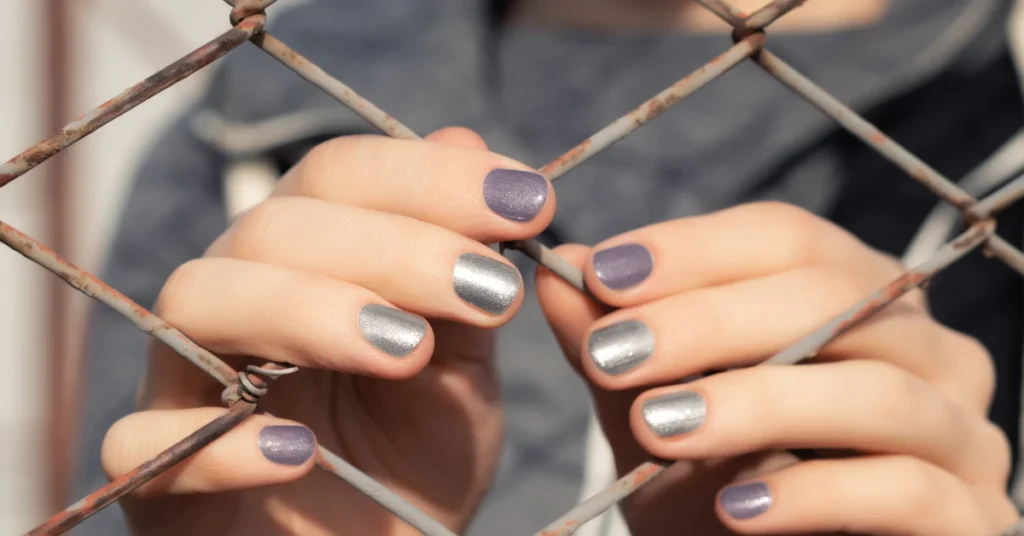
What Chrome Nails Actually Are (And Why They’re Tricky) ✨
Chrome nails aren’t just “shiny polish.”
They’re that smooth, reflective, almost metallic finish that looks like your nails are catching light from every angle.
But here’s the catch:
- They rely on layering correctly
- Timing matters more than you think
- The base underneath changes everything
If your chrome looks dull or patchy… it’s usually not the product — it’s the technique.
Method 1: Chrome Powder + Gel (Most Professional Result) 💎
This is the closest you’ll get to salon chrome nails at home.
- What You Need:
- Gel base coat
- Gel color (usually black or nude)
- Chrome powder
- No-wipe gel top coat
- UV/LED lamp
- Step-by-Step:
- Prep your nails (clean, shape, push cuticles)
- Apply base coat → cure under lamp
- Apply gel color → cure
- Apply no-wipe top coat → cure
- Rub chrome powder using sponge/applicator
- Gently brush off excess powder
- Seal with top coat → cure again
Why This Works So Well:
The no-wipe top coat creates the perfect smooth surface for the powder to stick evenly.
If you skip that step… it will not look right (learned this the hard way).
Method 2: Chrome Powder + Regular Polish (No Lamp Needed) 🪞
This one surprised me the most — it actually works if you time it right.
- What You Need:
- Regular nail polish (dark shade works best)
- Chrome powder
- Clear top coat
- Step-by-Step:
- Apply your nail polish
- Let it dry until slightly tacky (not fully dry)
- Lightly rub chrome powder on top
- Press gently to smooth it out
- Seal carefully with top coat
Real Talk:
This method is a bit less smooth than gel… but still gives a really pretty chrome effect.
The trick is catching that “almost dry but still sticky” moment.
Too wet = mess
Too dry = powder won’t stick
Method 3: Chrome Nail Polish (Easiest Option) 💅
If you don’t want to deal with powder at all — this is your low-effort version.
- What You Need:
- Chrome-effect nail polish
- Top coat
- Step-by-Step:
- Apply 1–2 thin coats
- Let each layer dry fully
- Add top coat for shine
Honest Opinion:
It’s not a true mirror chrome… but it still looks cute and shiny.
Perfect for:
- Beginners
- Quick looks
- No patience days
Best Products for Chrome Nails at Home 💖
| Product | Best For | Why I Love It |
| Born Pretty Chrome Powder | Beginners | Super easy to use, smooth finish |
| Beetles Gel Polish Kit | Full setup | Everything in one kit |
| OPI Chrome Effects Powder | High-quality finish | More intense shine |
| Essie Metallic Polish | Easy method | No powder needed |
Personal Tips That Made a HUGE Difference 💡
- Apply thin layers — thick polish ruins the finish
- Rub powder gently, not aggressively
- Use a silicone applicator (way smoother result)
- Always seal properly or it fades fast
- Dark base colors give the strongest chrome effect
The first time I switched from random rubbing to gentle pressure… my nails finally looked like actual chrome.
Common Mistakes (Please Learn From Me 😭) 🚫
- Applying powder on the wrong layer
- Skipping the no-wipe top coat (for gel)
- Using too much powder
- Not sealing properly
- Rushing drying time
I once sealed too quickly and the whole chrome effect just… disappeared. Painful.
Quick Comparison: Which Method Should You Use?
| Method | Difficulty | Result |
| Gel + powder | Medium | Best, mirror-like |
| Regular polish + powder | Medium | Good, slightly softer |
| Chrome polish | Easy | Shiny, not fully chrome |
My Honest Take 💬
Unpopular opinion: chrome nails are more about technique than products.
You don’t need the most expensive powder — you just need to apply it correctly.
Also… gel is worth it if you want that perfect finish. I resisted it for so long, but yeah… it makes a difference.
Your Questions Answered ✨
Can I do chrome nails without gel?
Yes — use regular polish + powder method.
Why does my chrome look dull?
Usually wrong base or improper sealing.
Do I need a UV lamp?
Only for the gel method.
What color works best underneath?
Black gives the strongest chrome effect.
How long do chrome nails last?
About 1–2 weeks depending on method.
Closing Thoughts 💭
Once you get the hang of it, chrome nails at home feel way less intimidating.
And honestly… the first time you get that smooth, reflective finish right? You’ll stare at your nails all day. I did.