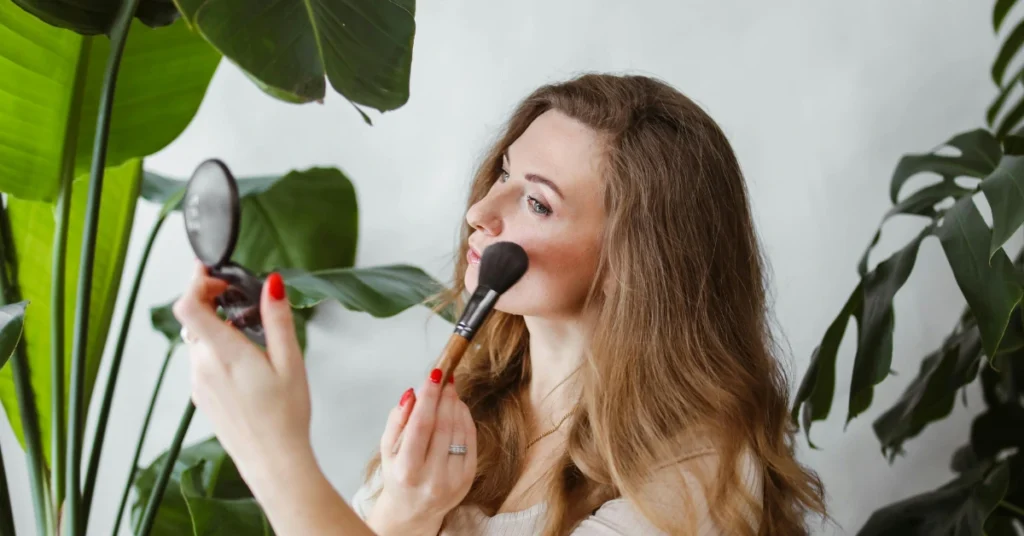
I genuinely underestimated blush placement for years 😭
I thought adding color to the cheeks was just an optional step — something cute, but not something that really changed your makeup.
So most of the time, I focused on:
- foundation
- concealer
- mascara
- contour
Meanwhile, my makeup still looked slightly flat no matter how much effort I put in.

Then one day I changed where I applied my cheek color… and suddenly my entire face looked fresher, softer, and somehow more lifted.
That’s when I realized the problem wasn’t the products I was using — it was the placement.
Once I figured out where to apply blush properly, my makeup started looking healthier without needing heavier products.
- Why Blush Placement Changes Your Entire Makeup Look 💭
- Where to Apply Blush for a Softer, Lifted Look ✨
- How to Apply Blush Without Making It Look Too Strong
- Cream vs Powder Formulas
- The Best Shades for a Natural Flush 🌸
- Where to Put Blush Based on Face Shape
- Mistakes That Can Ruin Soft Makeup 🚫
- Why This Technique Makes Makeup Look Younger 💡
- My Favorite Routine Right Now
- How to Make Your Cheek Color Last Longer
- My Honest Take 💬
- Closing Thoughts ✨
- If You Love Makeup Trends…
Why Blush Placement Changes Your Entire Makeup Look 💭
A lot of makeup routines focus heavily on contour and bronzer, but color placement often makes a bigger difference.
When foundation and concealer remove natural redness from the face, makeup can start looking:
- flat
- tired
- overly matte
Adding warmth back into the cheeks creates:
- dimension
- softness
- healthier-looking skin
That’s why good blush placement can make makeup feel more youthful without looking dramatic.
Sometimes a little color on the cheeks changes more than full coverage foundation does.
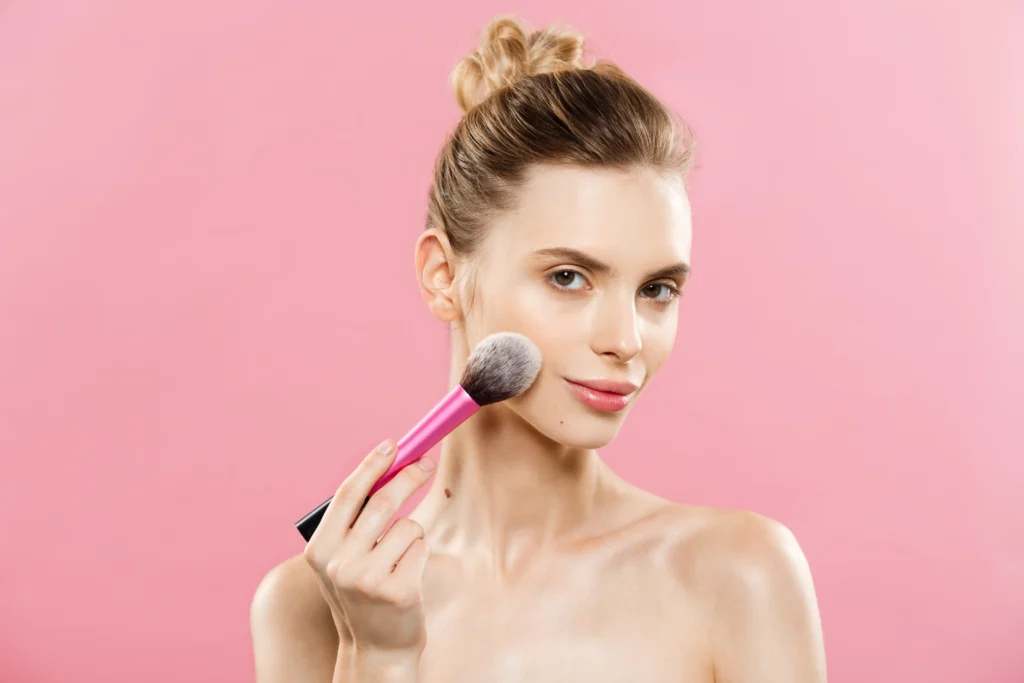
Where to Apply Blush for a Softer, Lifted Look ✨
If you’re wondering where to apply blush, placement matters more than the shade itself.
Older tutorials often recommended placing color directly on the apples of the cheeks.
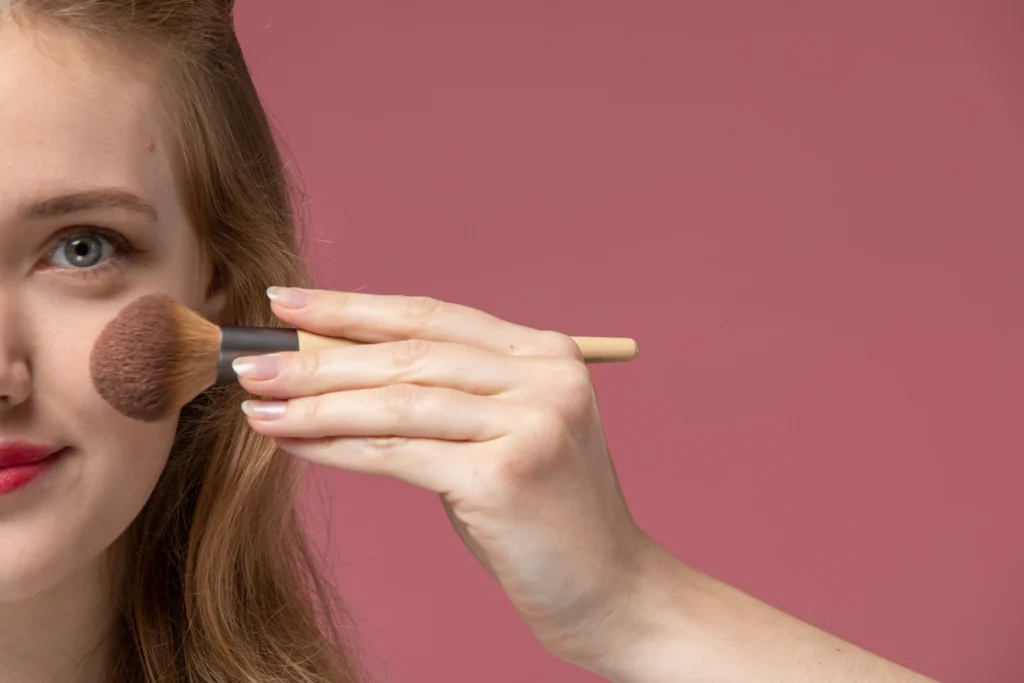
But now, softer lifted placement tends to look more flattering.
The most natural technique is:
- placing product slightly higher on the cheeks
- blending upward toward the temples
- keeping the center of the face lighter
This creates:
- a lifted effect
- softer facial structure
- fresher-looking makeup overall
The first time I tried this technique, I immediately noticed my makeup looked less heavy.
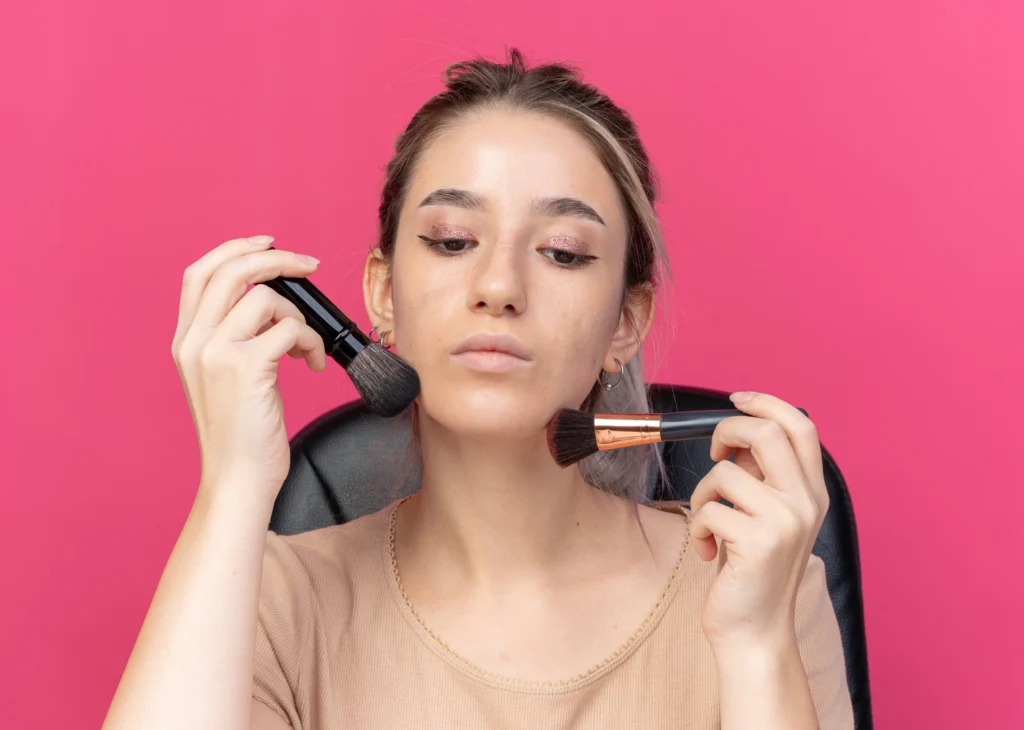
How to Apply Blush Without Making It Look Too Strong
Learning how to apply blush properly changed everything for me because I used to apply way too much product at once.
Now I:
- Start with a tiny amount
- Blend outward slowly
- Build color gradually if needed
👉 A liquid formula like Rare Beauty Soft Pinch Liquid Blush works beautifully because the finish looks smooth and natural when blended lightly.
The first time I used too much of it, though, I genuinely looked sunburned for hours 😭
That’s why lighter layers always look better.
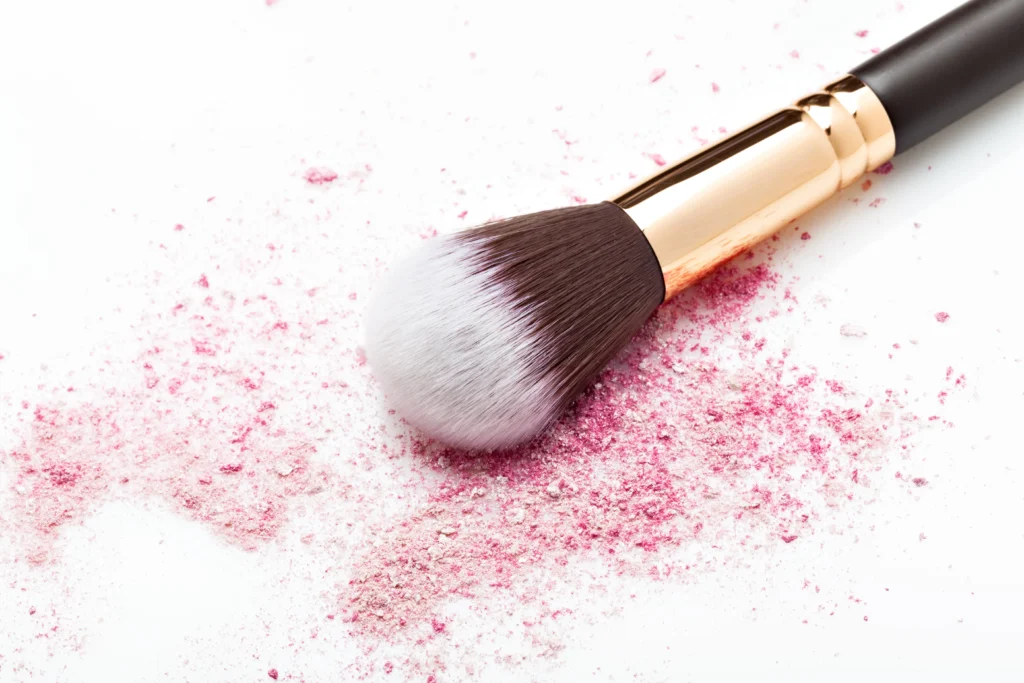
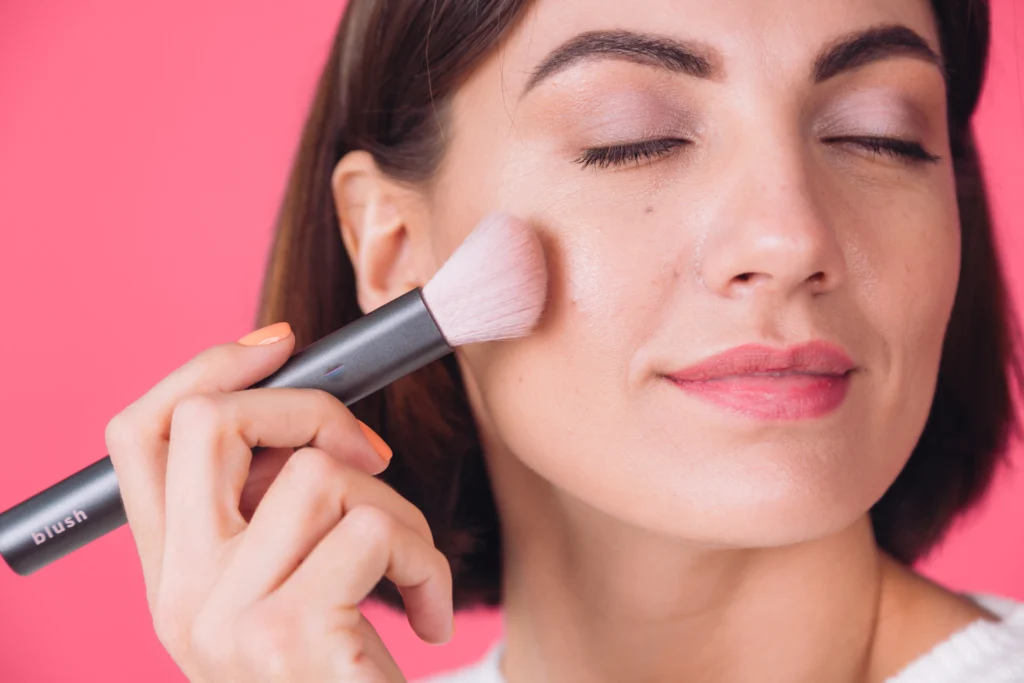
Cream vs Powder Formulas
Different formulas create very different finishes.
Cream Formulas
Cream textures usually give:
- softer glow
- hydrated appearance
- more natural skin finish
They work especially well for:
- dry skin
- minimal makeup looks
- dewy makeup styles
Powder Formulas
Powder products usually:
- last longer
- control shine better
- create stronger color payoff
👉 Milani Baked Blush is one of the few powder options that still looks smooth instead of dry or chalky.
A lot of people layer cream and powder together for longer wear.
The Best Shades for a Natural Flush 🌸
Finding the right shade makes a huge difference.
The most flattering colors usually mimic the natural flush your skin already gets.
| Soft Pink | Fresh and youthful-looking. |
| Peach | Warm and natural without looking too bright. |
| Rose Mauve | Softer and slightly elegant. |
| Berry Tones | Beautiful on deeper skin tones or winter makeup looks. |
The key is choosing shades that blend into your skin naturally instead of sitting heavily on top.
Where to Put Blush Based on Face Shape
A lot of people search where to put blush, but placement can shift slightly depending on face shape.
| Round Face | Blend upward and outward for more lift. |
| Long Face | Keep color slightly more horizontal. |
| Heart-Shaped Face | Focus more toward the outer cheeks. |
| Oval Face | Most placements work naturally. |
That said, soft upward blending usually flatters almost everyone.
Mistakes That Can Ruin Soft Makeup 🚫
Before figuring out my routine, I kept making the same mistakes:
- applying too much product immediately
- blending too low on the cheeks
- choosing shades that were too bright
- skipping cheek color entirely
- layering too many powder products
The biggest mistake was thinking this step didn’t matter much.
Now it’s probably the fastest way to make my makeup look fresher.
Why This Technique Makes Makeup Look Younger 💡
There’s a reason makeup artists focus so much on cheek placement.
When applied correctly, it creates:
- healthier-looking skin
- softer features
- natural-looking warmth
That’s why makeup instantly looks:
- more awake
- less flat
- more balanced overall
Without needing heavy contour or complicated techniques.
My Favorite Routine Right Now
Lately, I’ve been keeping my routine really simple:
- lightweight base
- cream cheek tint first
- tiny bit of powder on top
👉 I’ve been loving the Rare Beauty Soft Pinch Liquid Blush layered lightly because it stays visible without looking heavy.
Using less product overall honestly made my makeup look much better.
How to Make Your Cheek Color Last Longer
One thing I struggled with was fading throughout the day.
What helped most:
- layering cream and powder textures
- applying color before setting powder
- finishing with setting spray
Those small changes helped everything stay softer and more even for longer.
My Honest Take 💬
I really think good blush placement is one of the most underrated makeup techniques.
A small amount of color in the right area can make your skin look healthier and your makeup look softer without adding extra complexity.
And honestly… most people would probably look fresher with slightly more cheek color and slightly less contour.
Closing Thoughts ✨
Once I learned where to apply blush and stopped overcomplicating my routine, my makeup started looking much more natural and balanced.
It’s such a small detail, but it changes the entire feel of your makeup.
If You Love Makeup Trends…
You might also like:
- My Effortless No Makeup Makeup for School & Work
- How to Look Expensive Without Doing Too Much
- Heatproof Makeup: 7 Must-Try Tricks for Flawless Summer Skin
Save this for the next time your makeup feels flat or tired 💕